History and changes
Review your project's background activity and undo unpublished edits with per-change revert or discard-all.
There are two related views for keeping track of what's happened to your site:
- History — a read-only log of background tasks (deployments, setup, framework updates).
- Changes — a live view of everything you've edited but not yet published, where you can revert individual changes or discard them all.
This guide covers both.
View the History log
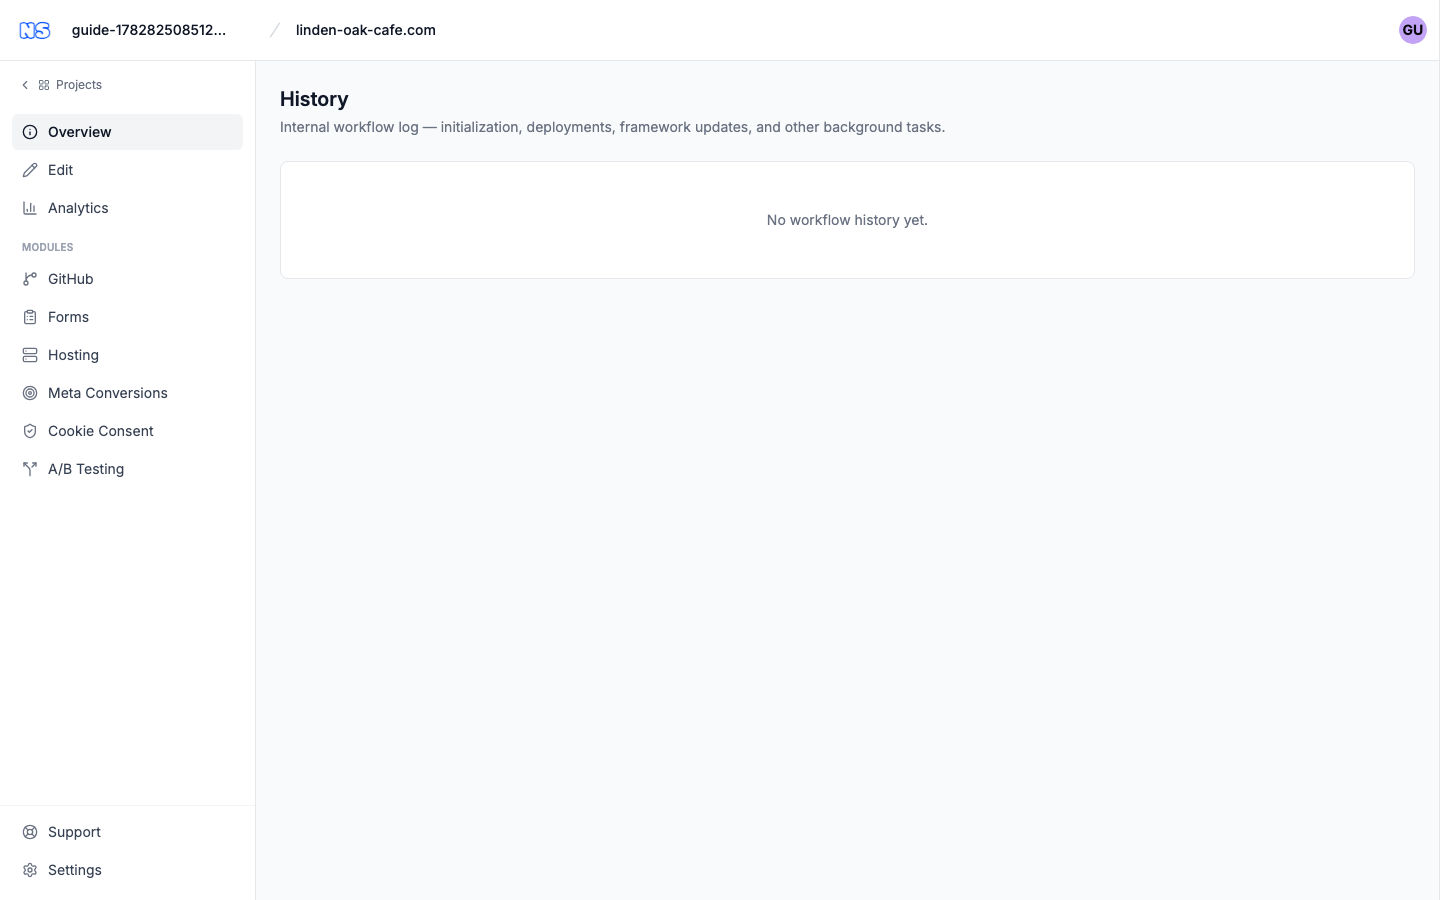
The History page is an internal activity log. To open it, go to your project's Settings and, under Advanced, click History.
You'll see a list of background tasks, most recent first. Each row shows a friendly name for the task, such as:
| Entry | What it was |
|---|---|
| Project initialization | Your project being set up for the first time. |
| Deployment | A publish/deploy of your site. |
| GitHub connection | Connecting or moving the project's repository. |
| Repository unlink | Disconnecting the repository. |
| Framework update | An update to the underlying site framework. |
| Template setup | Setting the project up from a template. |
| Website crawl | Importing content by crawling an existing site. |
Each row also shows how long ago it ran and a status badge. Click a row to open its detail view and see more about what happened.
Note: History is informational only — it's a record of automated work, not something you act on. To undo your own edits, use the Changes view below.
Undo unpublished edits with Changes
While you're editing your site, every change you make is saved as a draft until you Publish. The Changes view lets you see those drafts and roll any of them back to the version that's currently live — without affecting anything you've already published.
To open it:
- Open your project and click Edit to enter the editor.
- In the narrow icon bar on the left, click the Changes icon (its tooltip reads Changes).
The Changes panel opens with a count badge — for example, 5 changes — showing how many things differ from your live site.
What you'll see
Changes are grouped so they're easy to scan:
- Content entities — each edited page or content item, listed by name with the collection it belongs to. A coloured tag shows whether it was added, edited, or removed.
- Design & code — a single collapsible bucket for changes to design and code files (templates, styles, and the like). Click it to expand the file list.
- History — a short list of unpublished commits, shown for reference.
If nothing has changed, the panel reads No changes since the last publish.
Revert a single change
To roll one item back to the published version:
- Hover over the item in the Changes panel.
- Click the Revert button (the circular-arrow icon) that appears.
The item is restored to how it currently looks on your live site. You can revert a content entity or an individual Design & code file this way. Because each revert is backed up, it also appears in Recently discarded (below) so you can bring it back.
Tip: You can also revert a page from inside its editor. When an entry differs from the live site, its editing screen shows a Revert button and an Edited badge appears on the entry in its collection list. After reverting, an amber bar offers an Undo so you can immediately put your change back if you reverted by mistake.
Discard all changes
To throw away every unpublished change at once and return the whole site to its live state, use the publish bar:
- Below the Publish button, click Discard all changes.
- A confirmation appears — for example, "Discard 5 changes since the last publish? They are backed up and can be restored."
- Click Discard all to confirm.
You'll see Changes discarded. You can restore them from the Changes tab.
Warning: Discarding removes all of your unpublished work in one step. It's reversible from Recently discarded, but it's a big action — make sure that's what you want.
Restore something you discarded
Both per-change reverts and discard-all are backed up. At the bottom of the Changes panel, the Recently discarded section lists them, noting whether each entry was a single file or a whole session (and how many files it covered).
To bring a discarded batch back, hover over its row and click Restore. Your changes return to the editor.
Publishing
None of this affects your live site until you publish. When you're happy with your edits, click Publish in the editor to deploy them. For programmatic deploys (from CI or another system), see the Deploy API.
Related
- Hosting and domains — put your site on a custom domain.
- Deploy API — trigger deployments without opening the dashboard.